Hiking The Pisgah National Forest in North Carolina
Over the Labor Day weekend, my friends and I traveled to the Pisgah National Forest (part of the Appalachian Mountains) in North Carolina for a three-day hiking/camping trip.
The half million acres of the Pisgah National Forest surrounding Asheville, NC features some of the most beautiful and rugged mountain scenery. Our goal was to traverse about 19 miles over three days. On the first day, we arrived at the tip of the Art Loeb Trail and set off. Here's our happy group as we arrived:
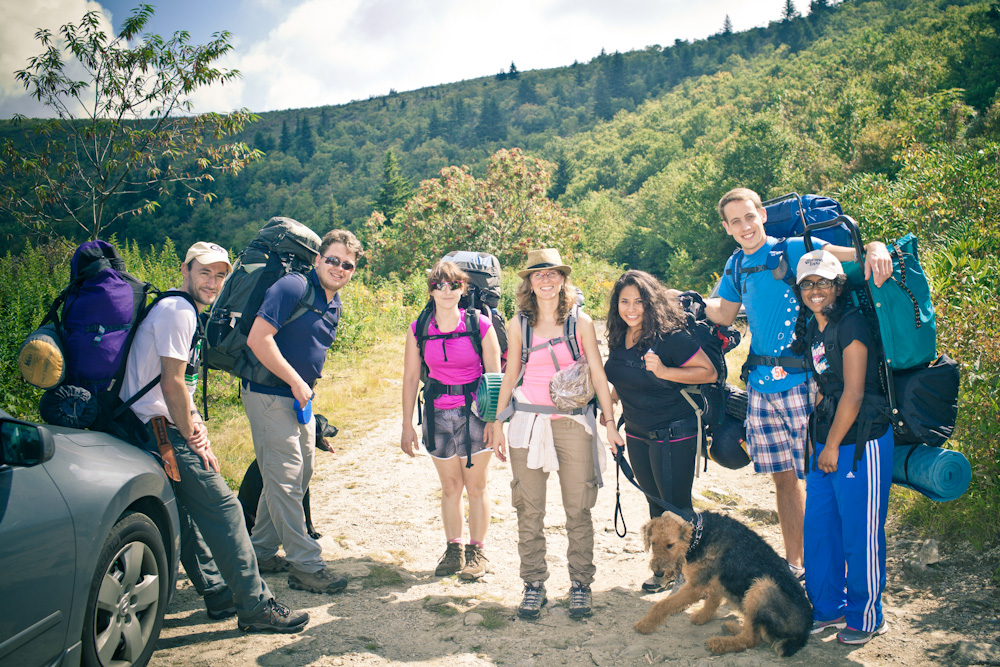
Happy faces before departing for the day's hike.
After four miles of hiking, we were caught in a downpour and scrambled to find a place to camp. It took me some time to set up my small tent, but after receiving some help, I was already drenched and needed to change clothes. After the rain ended, we were treated to this spectacular view at our campsite:

The sun shines through the trees after a downpour.
In the evening, we made dinner (spaghetti!) and shared a few cups of a drink I've never had before:

We wound down the evening by making a fire. The following morning, we had breakfast, put away our tents and other gear, and prepared to go for a ten-mile round-trip hike to Cold Mountain. It was a moderately strenuous hike.
What I remember most is getting to the peak of Cold Mountain and looking into the distance and seeing these giant rain clouds. And then this depressed sound, sort of like a drum in the distance. It wasn't thunder. It was rain hitting the treetops in the distance. I've never heard this kind of sound before on a mountaintop, and it was glorious.
After taking a few photos at the top of the peak, we headed back to the campsite where we stayed the previous night.
We ended up saving the best part of the hike for the final day (on Labor Day). On this day, we hiked through the Black Balsam area that includes some of the most spectacular mountain balds in the Southern Appalachians. This area above 6,000 feet in elevation is almost entire devoid of trees. I captured this photo of our group as we were traversing the trail:

Here, we took a brief respite, drank some water, and took some fun pictures.

Group photo! Self timer on my dSLR which sat on my backpack.

Portrait in the wilderness
I took some time and captured the butterflies in the area:


We then proceeded on the Art Loeb Trail for a couple more hours and got back to ours cars. Along the way, we stopped a number of times to pick on the fresh blueberries. They were delicious!
Overall, the camping trip was a great success. We were sweaty, exhausted, but everyone had a great time (minus getting stung by the pesky wasps). I highly recommended checking out this part of the Appalachian Trail if you're looking for a weekend getaway. The trails are well maintained from spring to autumn, there are plenty of camp sites in which to camp, and the views are wonderful.
###
Note: you can see some of the photos featured in this post in my gallery, Appalachian Mountains.